
DIY VHS case purse
Look at this purse, isn’t it neat… wouldn’t this make your collection complete?
This post may contain affiliate links and cookies. Please read our disclosure and privacy policies for more information. Bounding on a Budget does benefit from your purchases on the attached links.
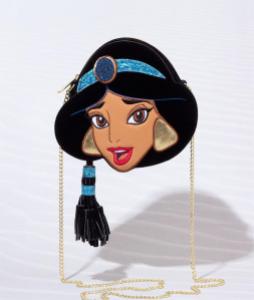
One of my absolute favorite ways to finish an outfit for a Disney day is the perfect purse. Brands like Danielle Nicole and Loungefly are constantly coming out with incredible new purses left and right. Disney lovers have a smorgasbord of stylish choices! As for myself, I have had my eye on the Jasmine crossbody from Danielle Nicole since it came out. 😉
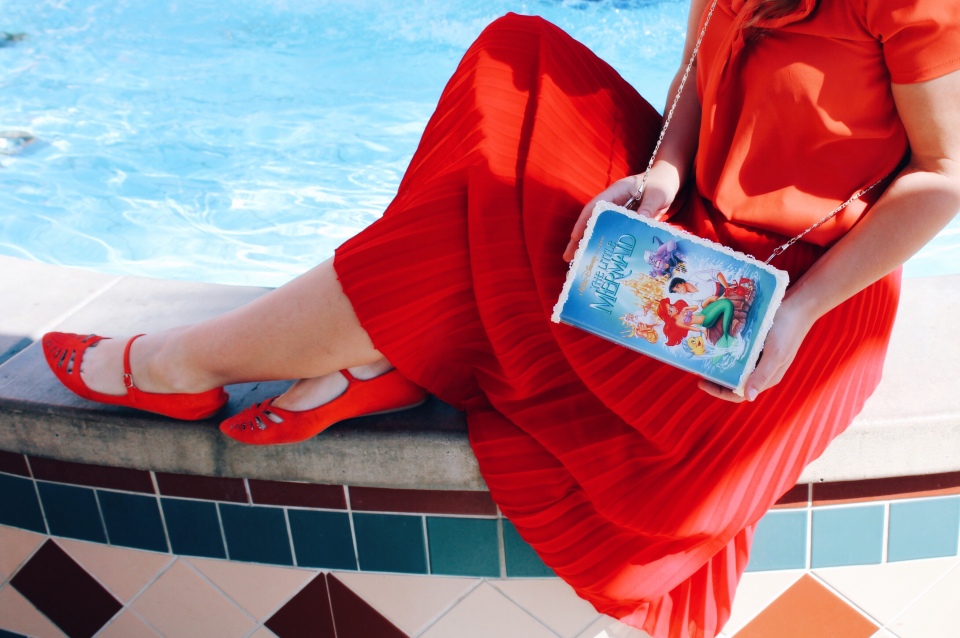
When I saw this storybook purse from Harveys on danggooddisney ‘s account… I swooned. I bet most of you have had an experience where you have seen someone sporting an accessory and thought, I just have to have that? Been there, done that! However if your wallet looks like mine, it’s as empty as your shopping cart! I thought to myself there has to be a way for me to DIY that purse. I saw my old VHS cases sitting in my craft room, and the light bulb went on!!!

While I was working on my purse, Chelsea (styledbymagic) mentioned in her story on Instagram that she was doing a craft with a VHS case. And Whatdoyaknow she had the same idea, great minds right? Being the sweetheart that she is, she has graciously agreed to do this post together! Hopefully between two tutorials worth of ideas, and learning from our mistakes, you too can have a swoon-worthy statement purse for your next Disney day.
We are going to show you how easy it is!!! Make sure to check out Chelsea’s blog post, also up today, to see how she made and styled her VHS case purse.

Not only are these lovely purses unique and come with a giant helping of 90’s nostalgia, you can trade in that $98 price tag for a ten dollar bill. The purse I made cost me only a dollar, because I already had everything else I used for this craft.
Materials needed:
•VHS case: estimated cost $2 (I went to a couple of thrift stores and this was the average price, but maybe you still have some lying around like I do. Or you can pick some up this summer at yard sales)
•2 keyrings: I pulled the keyrings off of old keychains I wasn’t using anymore, but you can get a package at Walmart for around 5 dollars. They also have great deals on Amazon, or you can find them at your local craft store. You could substitute the ring for something else. My second purse was done with a gold jewelry chain and two findings. But you could use some sturdy ribbon or braided yarn, whatever your imagination can come up with! 😉
•Felt: Felt is usually around .25 a sheet at Walmart.
•A strap: I went to a secondhand store and found a purse with removable straps for a buck.
•Drill: I used an electric hand drill.
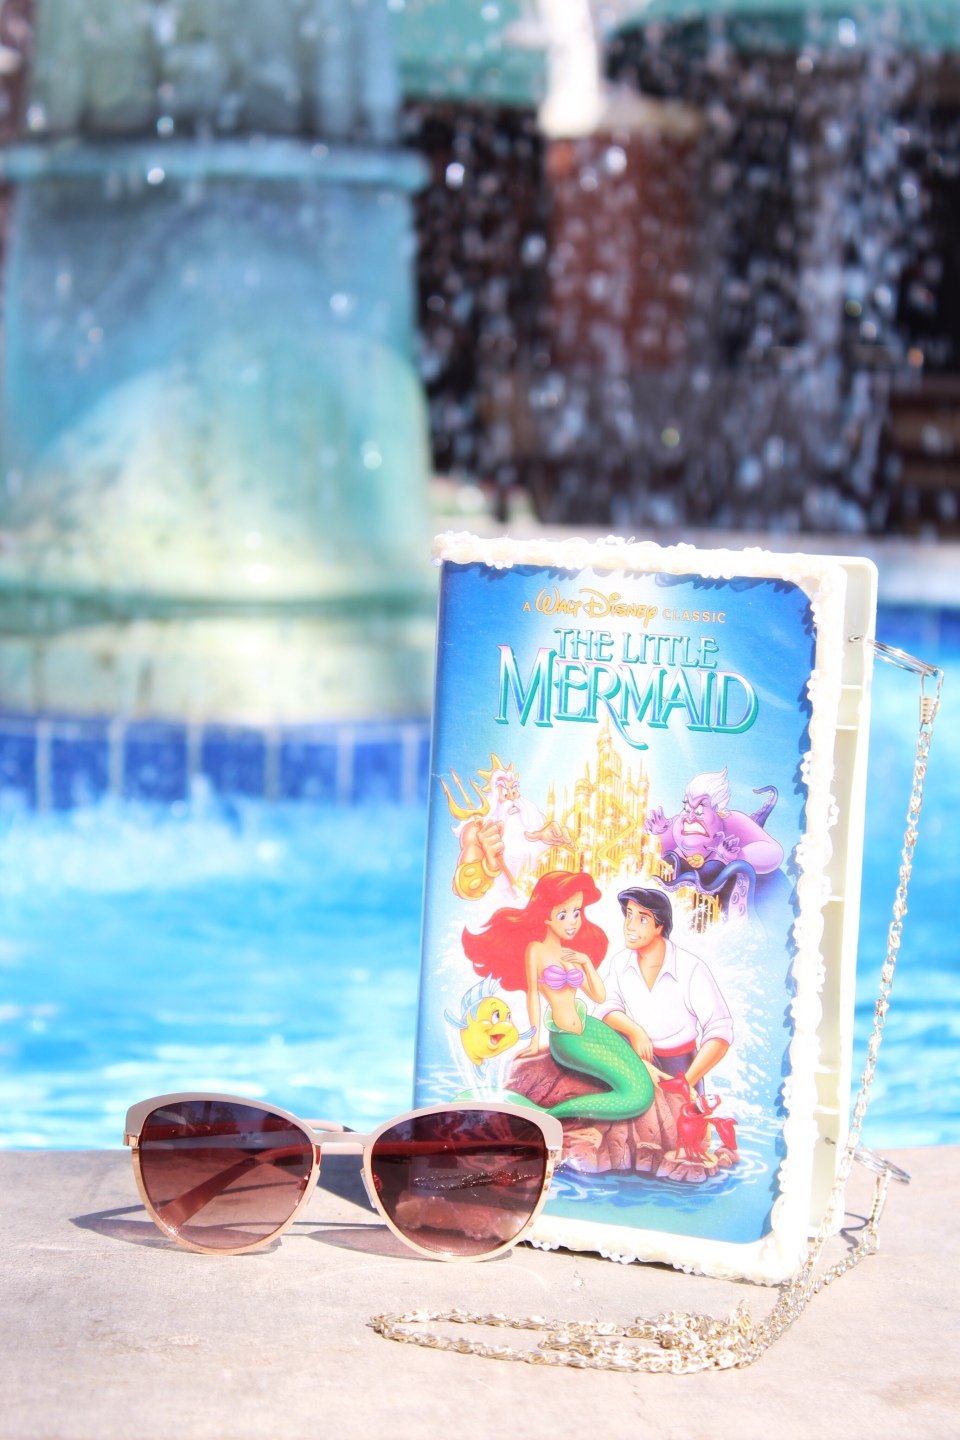
•Embellishments: Optional and prices vary. The ribbon shown on my Little Mermaid purse is from Jo-ans fabrics and I of course used a 40% off coupon from the Jo-ans app.
•Don’t forget your hot glue gun and glue sticks. (Crafter’s tip: I find glue sticks at the Dollar store quite often and they are cheaper than buying from the craft store.)
📼Directions:📼
First
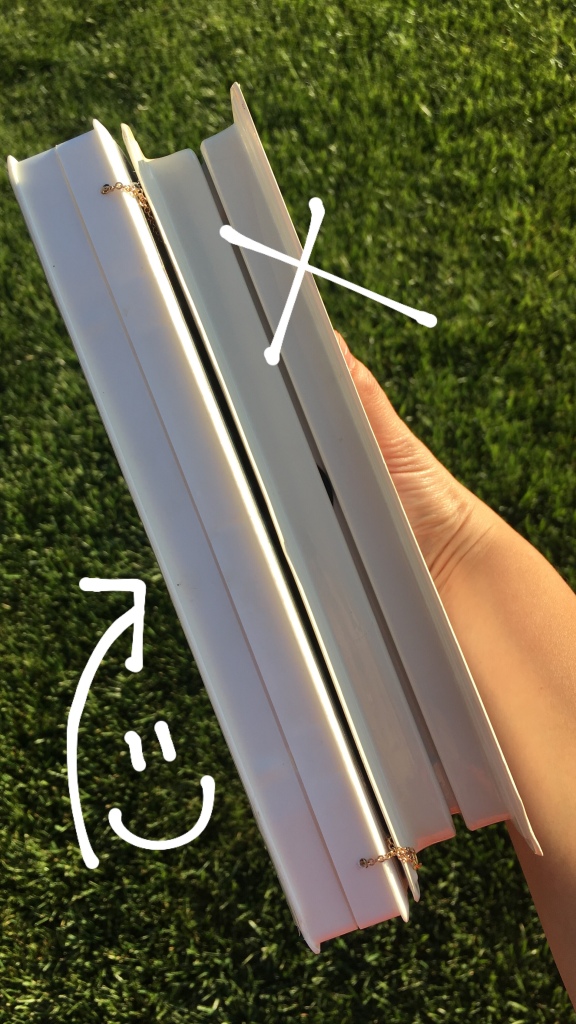
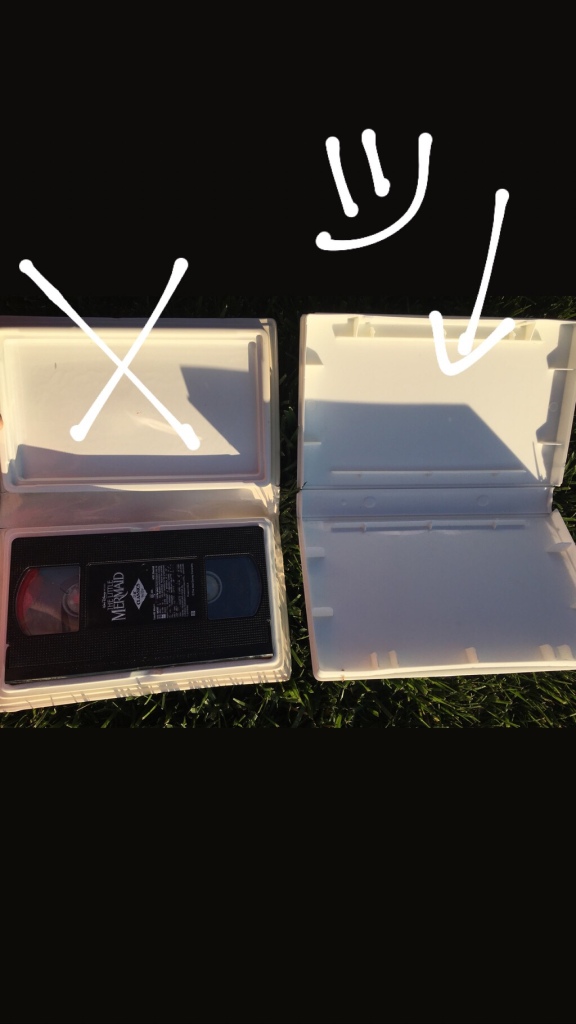
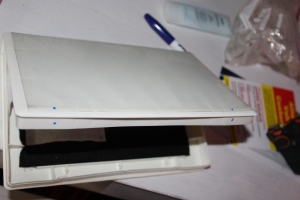
When looking for a VHS case make sure you get the harder plastic case as opposed to the one with the X in the photo- The harder plastic will hold up much better as it is a slightly more durable plastic and has a click when you close it to keep your items inside your purse.
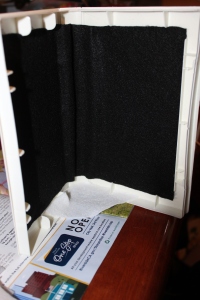
Next measure your felt to fit your case, cut accordingly and glue it down around the edges. Do not glue your felt down the middle section, this will keep the middle section flexible for opening and closing.


You don’t have to use felt, you can use material or leave the inside as it is. If you use material you will have to sew the edges or fold them over and glue them underneath or they will fray. Adding felt will help keep the items inside from clanking around.
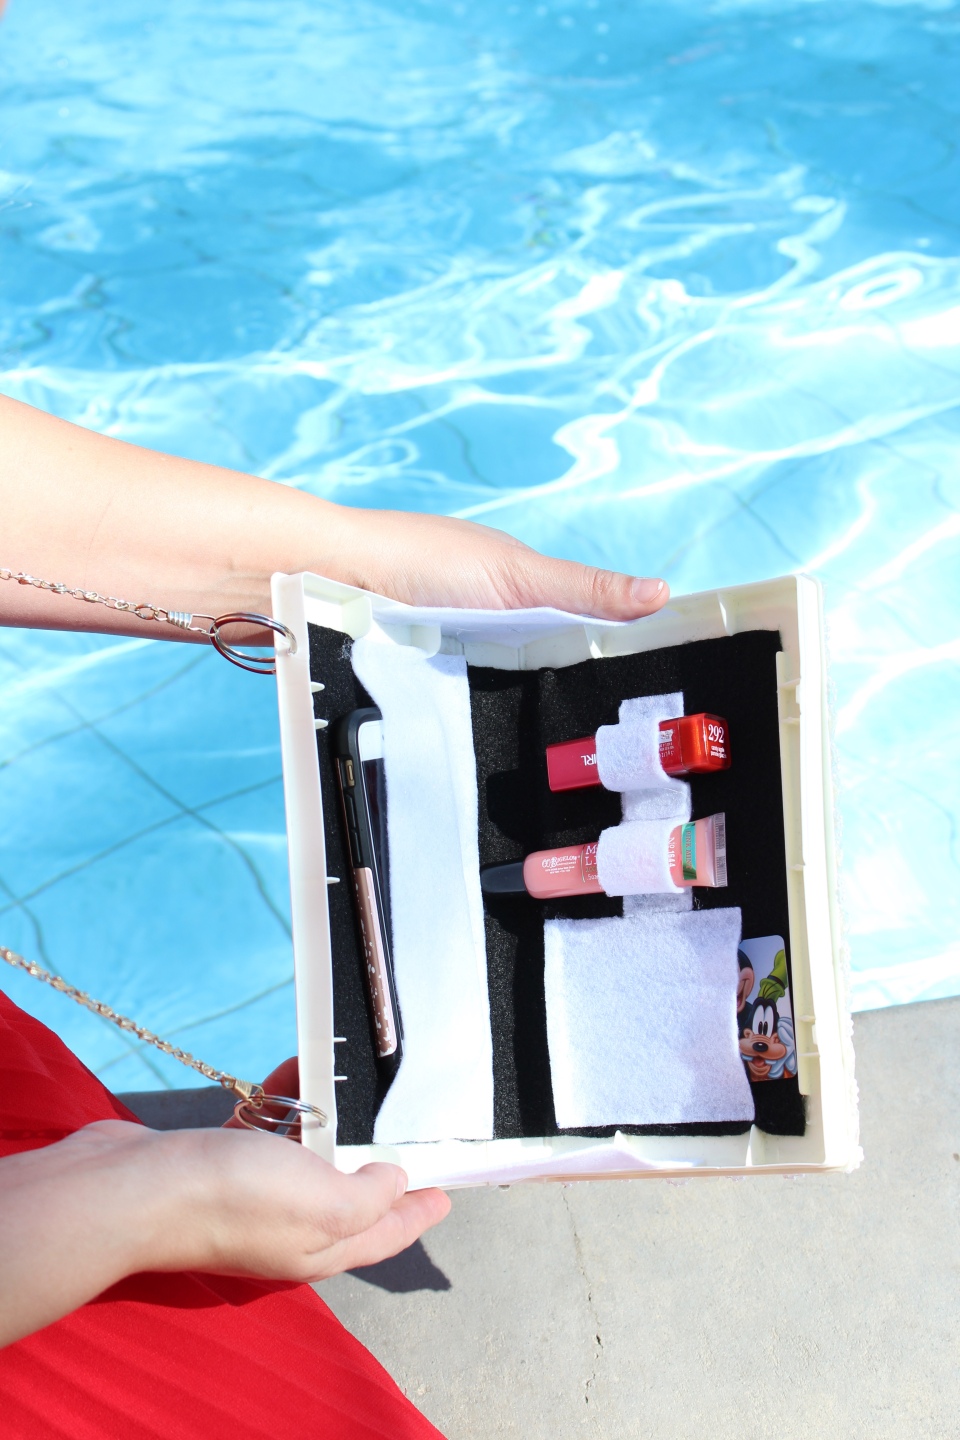
If you want to add the pockets as shown on mine, I suggest doing those next. I measured my phone, my Disney pass and a couple of my go to lip glosses. Before gluing anything down make sure that the items you want to fit in your purse don’t interfere with the items on the other side, so that the purse will close without problems. Now add the felt you cut to the dimensions of your items to the felt you already glued down. Make sure to leave enough room for the item to fit within the pocket.
This next part is also optional depending on your preferences and how much time you would like to put into this purse. I added a triangular shape of felt on the sides as shown to prevent the purse from opening too far. Take into account how far you would like your purse to open. Cut out two pieces of felt, if they interfere with the plastic, cut slits in the felt to go around the plastic inside the case and hot glue them down.
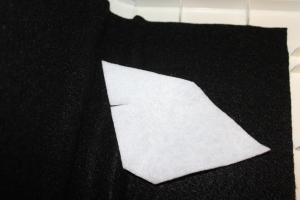
This will keep your case purse together when you open it so that your stuff wont fall out all over the new pavement down main street at Disneyland. With these cases being older and only meant to hold a lightweight tape, they don’t always clasp perfectly. The felt pieces will act as a fail-safe in case your purse opens accidentally.
Make sure to leave room on your triangular shapes of felt for them to fold into the purse. The longer your felt piece the wider your purse will be able to open.

Next I measured the length of the case and marked evenly on both ends where I wanted to drill my holes. I put the holes one inch in from the end. Mark and drill on the back side as well so that your key ring can go through both sides
I used a smaller size drill bit, but you can gauge the size you want depending on the size of the key ring you choose.

How lucky are you that I did this first so you could learn from my mistakes? After the holes were drilled I used a butter knife to pry open the keyrings and force them into the holes. It was so difficult that I sliced three of my fingers open trying to get them through the holes. The key rings I used were a little too large so they don’t look very nice paired with this dainty little purse. They also have started cutting into the see through plastic part on the case causing it to tear and look a little run down.
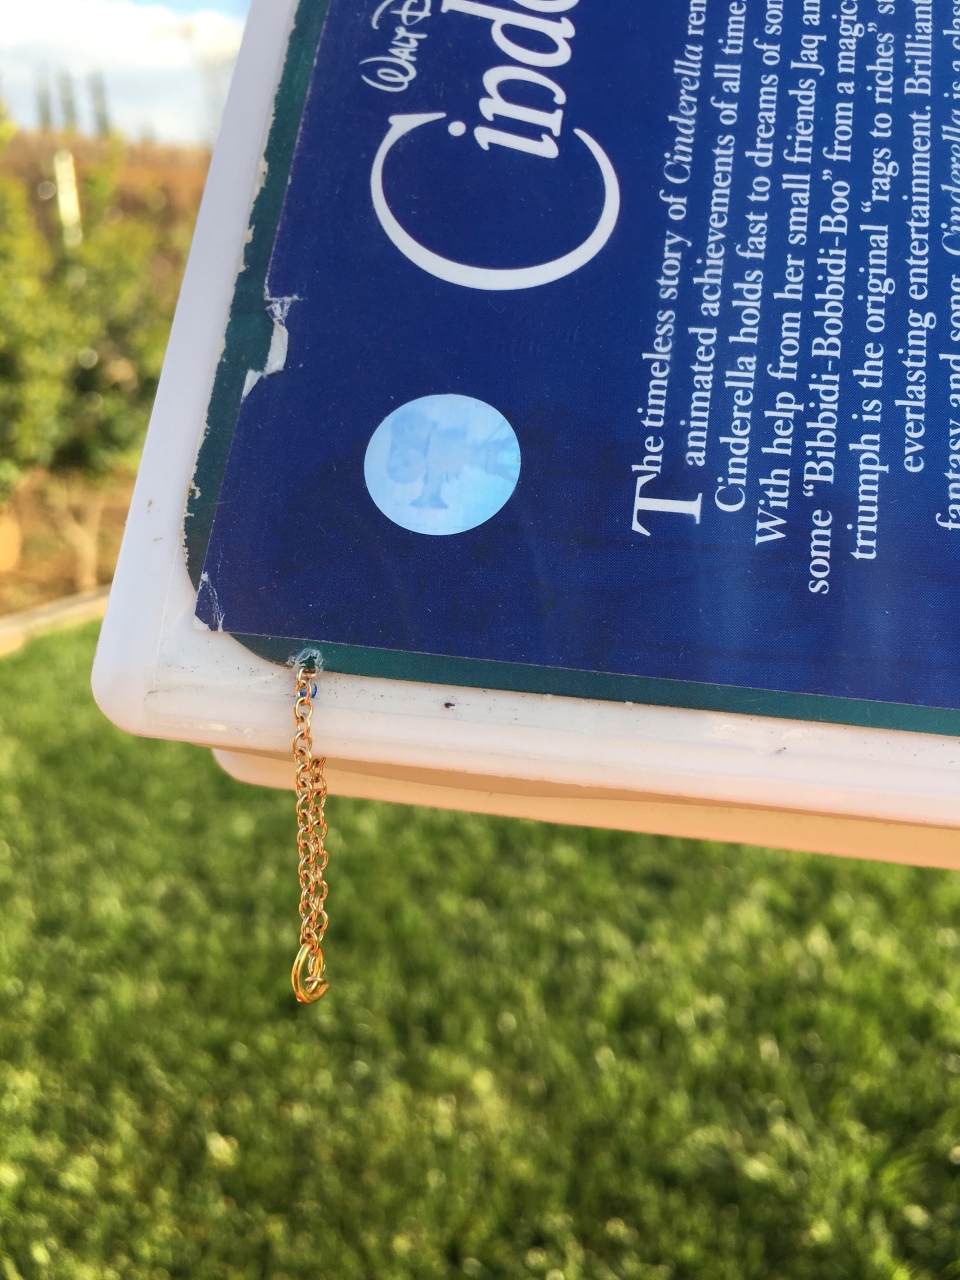
That’s why for my second purse, I used a thick jewelry chain with a large sized jewelry finding piece on the end to hold the clip of the purse strap without compromising the quality of the chain.
Lastly, you can do what I did with my first case and add embellishments like the ribbon around the edges. If you add embellishments or if you have added the triangular felt pieces to help keep the purse from falling open, you might not be able to change the case cover anymore. It will depend on how long you make your felt pieces or how flat your embellishments are.
Hopefully you can ( I’m going to throw my new favorite word out there again) make it versatile and use other case covers as interchangeable faces. If you are really creative you can even make your own case cover. Not only can you change the cover to match your bound or Disney outfit, but you can also change out the straps! Imagine the possibilities, so much better than two in one, it’s more like 200 in one!!

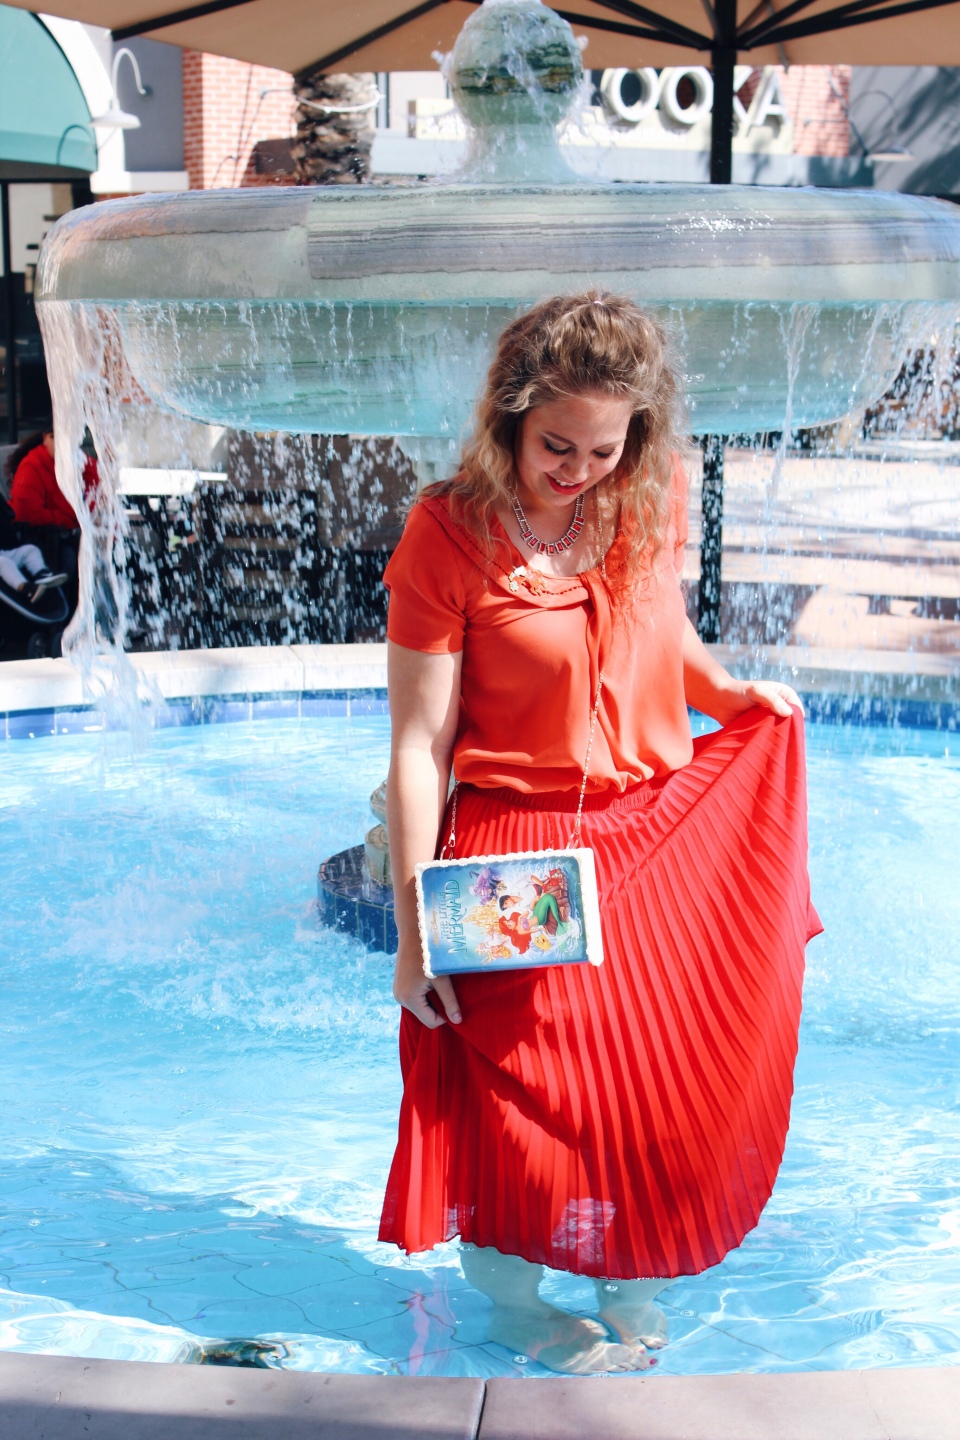
And you’re done! Heigh ho, heigh ho, it’s off to the parks you go, looking classy, unique, and very Disney chic!!!!

Snow White and Cinderella pursesmodeled by the lovely @disneylann_


Now you’re the girl who’s got everything!
I hope you found this tutorial helpful. If you have any questions; ask in the comments or DM me on Instagram. I am happy to help! I cannot wait to see everyone sporting their VHS case purses at Disney! Tag #boundingonabudget and #styledbymagic on Instagram so we can see how you styled your purse!!!
Love Hailee & Jasmin


